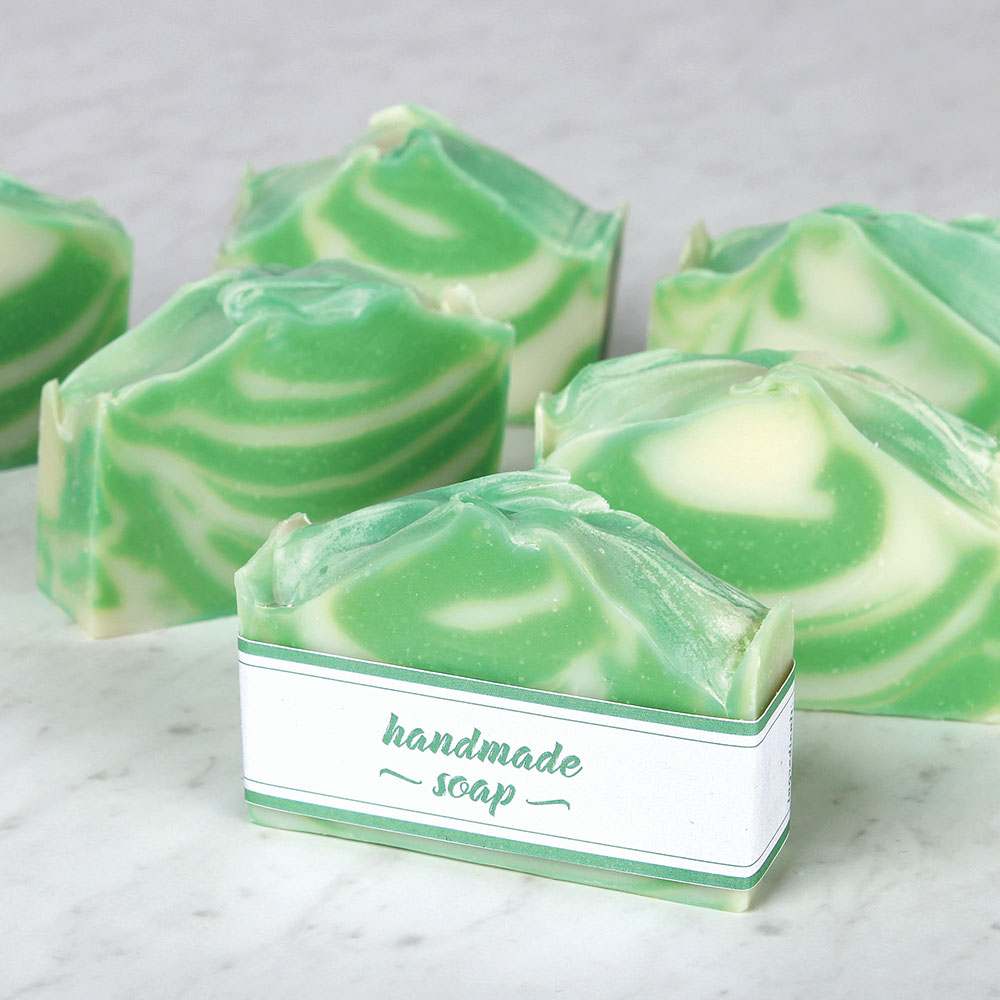

Layered Handmade Soap Project
Making a layered cold process design is easier than you think! We show you how to layer the soap in using a spoon.
The project is made with Kelly Green Mica and Apple Sage Fragrance Oil, which is a bright scent everyone loves. You can give them to friends and family and keep a few to enjoy.
What You Need:

Basic Quick Mix - 33 oz

Sodium Hydroxide Lye

Apple Sage Fragrance Oil - 3.5 oz

10 inch Silicone Loaf Mold

Kermit Green Mica - 1 oz
Recipe
INGREDIENTS:
- Basic Quick Mix - 33 oz
- Sodium Hydroxide Lye
- Apple Sage Fragrance Oil - 3.5 oz
- Kermit Green Mica - 1 oz
EQUIPMENT:
- 10 inch Silicone Loaf Mold
Instructions

You will need:
- 33 oz. Basic Quick Mix
- 10.9 oz. Distilled Water
- 4.7 oz. Sodium Hydroxide Lye
- 2.4 oz. Apple Sage Fragrance Oil
- 1 tsp. Kermit Green Mica
- 10” Silicone Loaf Mold
FRAGRANCE PREP: Measure 2.4 ounces of Apple Sage Fragrance Oil into a small glass container and set aside.
SAFETY FIRST: Suit up for safe handling practices. That means goggles, gloves, and long sleeves. Make sure kids, pets, other distractions, and tripping hazards are out of the house or don’t have access to your space. Always make soap in a well-ventilated area.
Follow these steps:
1
Slowly and carefully add 4.7 ounces of lye to 10.9 ounces of water and gently stir until the lye has fully dissolved and the liquid is clear. Set aside to cool. Optional: Add 2 teaspoons of sodium lactate to help the bars harden more quickly.
2
Fully melt the entire bag of Basic Quick Mix until it's completely clear with no cloudiness. Shake the bag to mix up all the oils. Measure 33 ounces into a large heat-safe container.
3
In a small plastic mixing cup, add 1 teaspoon of Kelly Green Mica. Then, add 1 tablespoon of melted oil from the Basic Quick Mix and combine using a mini mixer.
4
When the lye water and oils are around 100-130° F, add the lye water to the oils. Pulse the blender on and off to mix. Continue to pulse and stir for about 1 minute.
5
Add all the fragrance oil and use a whisk to fully combine.
6
Pour about half of the soap into a separate container. Add all of the Kelly Green Mica to one container and whisk to combine. It will be army green at first, but after 24 hours it will turn bright green.
7
Place 3-4 large spoonfuls of green soap into the mold. Then, place 3-4 spoonfuls of uncolored soap into the mold. Repeat this pattern until all the soap is in the mold.
8
Tap the mold firmly on the counter to disperse bubbles. Use a spoon to pull the soap toward the center to create peaks. Allow the soap to harden for 2-4 days.
9
Pull 2 sides of the mold away from the soap. If it isn’t sticking, pull the other 2 sides away from the soap and gently press from the bottom. If the sides of the mold do not easily release, let it harden for another day.
10
Carefully remove the soap and place on a cutting board. Using a sharp, non-serrated knife, cut the soap into bars.
11
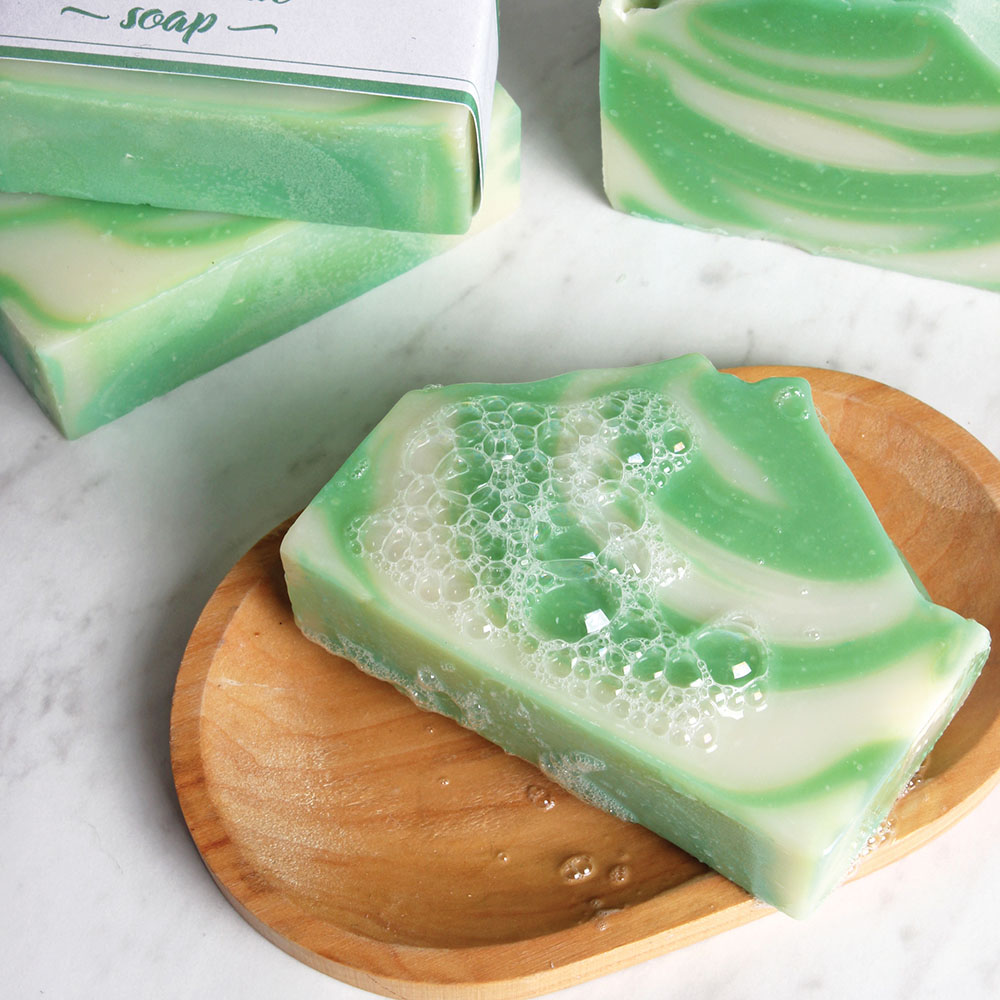
Allow the bars to cure on a well ventilated shelf for 4-6 weeks to create a firm, long-lasting bar. Enjoy!
Tutorial credits
Photographer: Amanda Kerzman
Layered Handmade Soap Project
- LEVEL Intermediate
- TIME 1 hour
- YIELD 10 bars of soap
Project Description
Making a layered cold process design is easier than you think! We show you how to layer the soap in using a spoon.
The project is made with Kelly Green Mica and Apple Sage Fragrance Oil, which is a bright scent everyone loves. You can give them to friends and family and keep a few to enjoy.
You will need:
- 33 oz. Basic Quick Mix
- 10.9 oz. Distilled Water
- 4.7 oz. Sodium Hydroxide Lye
- 2.4 oz. Apple Sage Fragrance Oil
- 1 tsp. Kermit Green Mica
- 10” Silicone Loaf Mold
FRAGRANCE PREP: Measure 2.4 ounces of Apple Sage Fragrance Oil into a small glass container and set aside.
SAFETY FIRST: Suit up for safe handling practices. That means goggles, gloves, and long sleeves. Make sure kids, pets, other distractions, and tripping hazards are out of the house or don’t have access to your space. Always make soap in a well-ventilated area.
Follow these steps:
1
Slowly and carefully add 4.7 ounces of lye to 10.9 ounces of water and gently stir until the lye has fully dissolved and the liquid is clear. Set aside to cool. Optional: Add 2 teaspoons of sodium lactate to help the bars harden more quickly.
2
Fully melt the entire bag of Basic Quick Mix until it's completely clear with no cloudiness. Shake the bag to mix up all the oils. Measure 33 ounces into a large heat-safe container.
3
In a small plastic mixing cup, add 1 teaspoon of Kelly Green Mica. Then, add 1 tablespoon of melted oil from the Basic Quick Mix and combine using a mini mixer.
4
When the lye water and oils are around 100-130° F, add the lye water to the oils. Pulse the blender on and off to mix. Continue to pulse and stir for about 1 minute.
5
Add all the fragrance oil and use a whisk to fully combine.
6
Pour about half of the soap into a separate container. Add all of the Kelly Green Mica to one container and whisk to combine. It will be army green at first, but after 24 hours it will turn bright green.
7
Place 3-4 large spoonfuls of green soap into the mold. Then, place 3-4 spoonfuls of uncolored soap into the mold. Repeat this pattern until all the soap is in the mold.
8
Tap the mold firmly on the counter to disperse bubbles. Use a spoon to pull the soap toward the center to create peaks. Allow the soap to harden for 2-4 days.
9
Pull 2 sides of the mold away from the soap. If it isn’t sticking, pull the other 2 sides away from the soap and gently press from the bottom. If the sides of the mold do not easily release, let it harden for another day.
10
Carefully remove the soap and place on a cutting board. Using a sharp, non-serrated knife, cut the soap into bars.
11
Allow the bars to cure on a well ventilated shelf for 4-6 weeks to create a firm, long-lasting bar. Enjoy!
Tutorial credits
Photographer: Amanda Kerzman