
Hickory and Suede Beeswax Candle Project
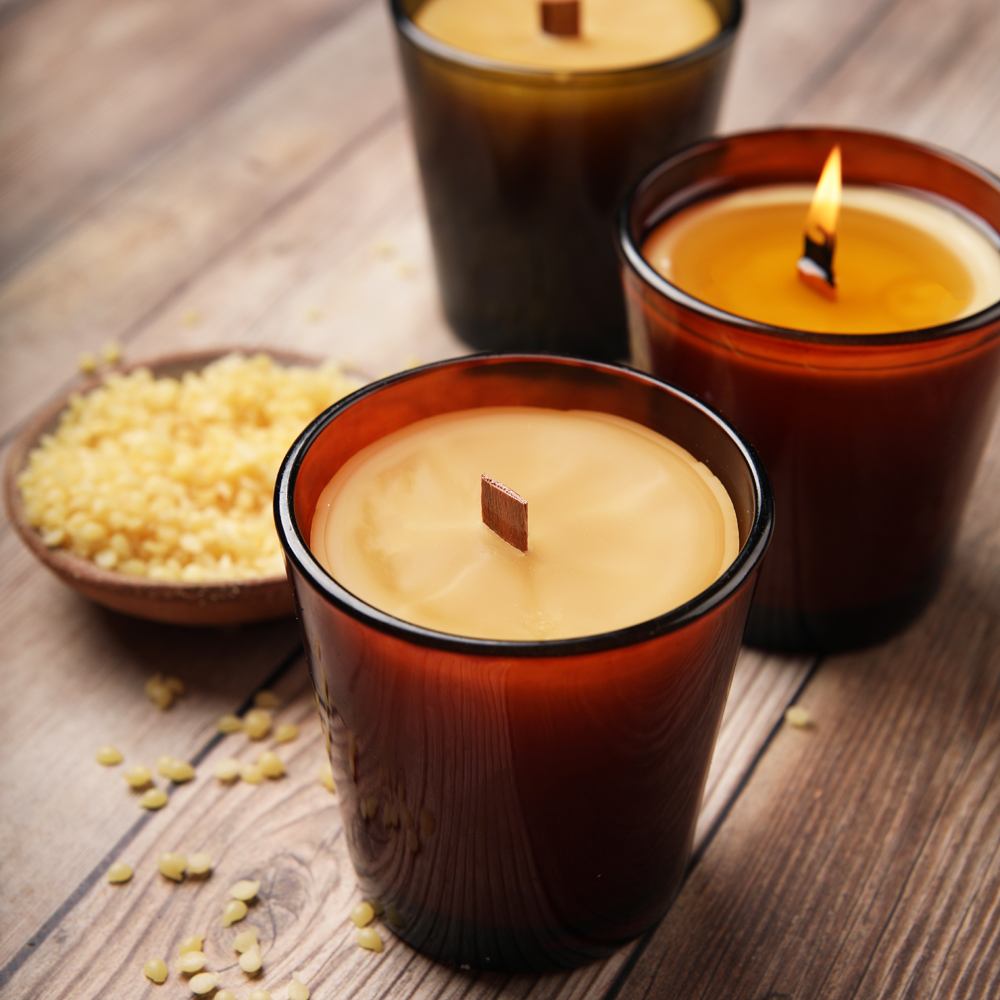
These candles fill the room with a warm and comforting smell. The notes of sandalwood, spiced musk, and tobacco in Hickory and Suede Fragrance Oil complement the natural scent of premium yellow beeswax wonderfully. Wooden wicks provide a soft crackling sound and gentle flame.
With this recipe, we recommend allowing the candle to burn for at least 2-3 hours at a time to reach a full burn pool. If you've never made them before, check out the How to Make Beeswax Candles article and video. It's full of tips for choosing your container, adding scent, and more.
Want more candle making supplies? Buy these DIY candle making recipes.
What You Need:
.jpg?sw=400&sh=400&sm=fit)
DISCONTINUED - 4 oz Amber Glass Jar - 4 Jars

Premium Yellow Beeswax - 1 lb

Short Narrow Wooden Wicks - 10 Wicks

Hickory and Suede Fragrance Oil - 1.75 oz
Recipe
INGREDIENTS:
- Premium Yellow Beeswax - 1 lb
- Hickory and Suede Fragrance Oil - 1.75 oz
EQUIPMENT:
- DISCONTINUED - 4 oz Amber Glass Jar - 4 Jars
- Short Narrow Wooden Wicks - 10 Wicks
Instructions

You will need:
- 20 oz. Premium Yellow Beeswax
- 2 oz. Hickory and Suede Fragrance Oil
- 4 4oz. Amber Glass Jars*
- 4 Narrow Wooden Wicks
*Note: This project was originally made with Amber Votives, which have been discontinued. They have been substituted with 4 oz. Amber Glass Jars.
NOTE: You can melt beeswax a few different ways – we recommend using a double boiler. It’s possible to heat it in the microwave, but because beeswax has a high melting point it takes a long time. The container needs to be very heat resistant so it won’t break.
PREPARE DOUBLE BOILER: Fill a large pot about a quarter full and place a heat-safe container on it. The container needs to be about the same diameter as the pot. Turn the heat to high until the water boils, then reduce to medium to maintain a soft boil.
Follow these steps:
1
Add 20 ounces of premium yellow beeswax to the heat-safe container. Allow it to melt slowly and not exceed 180° F. Tip: This process can take a while depending on your melting setup. We recommend staying close to your container and stirring the beeswax every now and then to help it melt evenly.
2
Adhere each wick to the center of each votive using a wick sticker. Trim the wick slightly. Measure 2 ounces of Hickory and Suede Fragrance Oil into a glass container.
3
Once the beeswax is completely melted, turn off the double boiler and remove the container. Set it aside and allow the wax to cool to about 160-165° F.
4
Add 2 ounces of Hickory and Suede Fragrance Oil and stir in gently for about 1 minute.
5
Allow the wax to cool to 155-160° F. Pour it into each container. Tip: Try your best to pour the wax into each container quickly and in one smooth motion. If you pour twice, you will end up with a line between the first and second pour.
6
Allow the candles to fully cool and harden. Light and enjoy!
Tutorial credits
Photographer: Amanda Kerzman
Hickory and Suede Beeswax Candle Project
- LEVEL Beginner
- TIME 2 hours
- YIELD 4 candles
Project Description
These candles fill the room with a warm and comforting smell. The notes of sandalwood, spiced musk, and tobacco in Hickory and Suede Fragrance Oil complement the natural scent of premium yellow beeswax wonderfully. Wooden wicks provide a soft crackling sound and gentle flame.
With this recipe, we recommend allowing the candle to burn for at least 2-3 hours at a time to reach a full burn pool. If you've never made them before, check out the How to Make Beeswax Candles article and video. It's full of tips for choosing your container, adding scent, and more.
Want more candle making supplies? Buy these DIY candle making recipes.
You will need:
- 20 oz. Premium Yellow Beeswax
- 2 oz. Hickory and Suede Fragrance Oil
- 4 4oz. Amber Glass Jars*
- 4 Narrow Wooden Wicks
*Note: This project was originally made with Amber Votives, which have been discontinued. They have been substituted with 4 oz. Amber Glass Jars.
NOTE: You can melt beeswax a few different ways – we recommend using a double boiler. It’s possible to heat it in the microwave, but because beeswax has a high melting point it takes a long time. The container needs to be very heat resistant so it won’t break.
PREPARE DOUBLE BOILER: Fill a large pot about a quarter full and place a heat-safe container on it. The container needs to be about the same diameter as the pot. Turn the heat to high until the water boils, then reduce to medium to maintain a soft boil.
Follow these steps:
1
Add 20 ounces of premium yellow beeswax to the heat-safe container. Allow it to melt slowly and not exceed 180° F. Tip: This process can take a while depending on your melting setup. We recommend staying close to your container and stirring the beeswax every now and then to help it melt evenly.
2
Adhere each wick to the center of each votive using a wick sticker. Trim the wick slightly. Measure 2 ounces of Hickory and Suede Fragrance Oil into a glass container.
3
Once the beeswax is completely melted, turn off the double boiler and remove the container. Set it aside and allow the wax to cool to about 160-165° F.
4
Add 2 ounces of Hickory and Suede Fragrance Oil and stir in gently for about 1 minute.
5
Allow the wax to cool to 155-160° F. Pour it into each container. Tip: Try your best to pour the wax into each container quickly and in one smooth motion. If you pour twice, you will end up with a line between the first and second pour.
6
Allow the candles to fully cool and harden. Light and enjoy!
Tutorial credits
Photographer: Amanda Kerzman