French Salt Bath Bomb Project
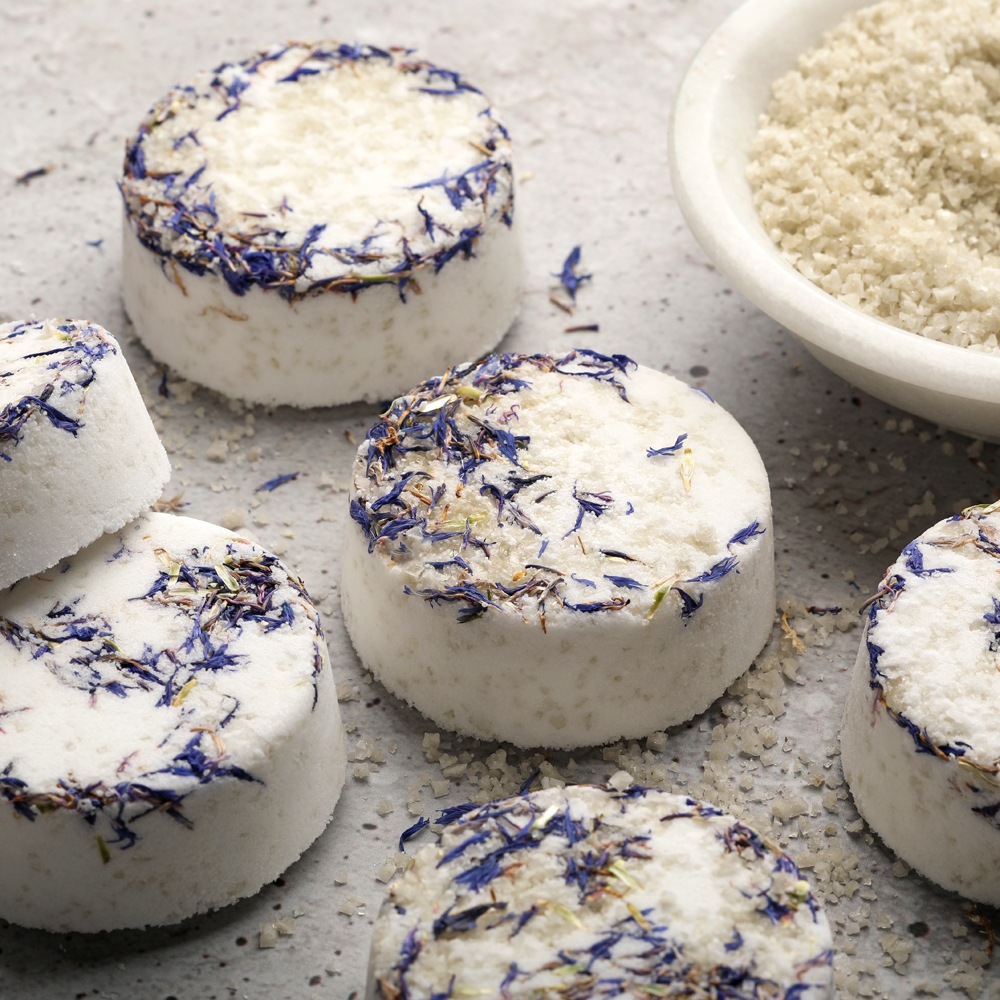
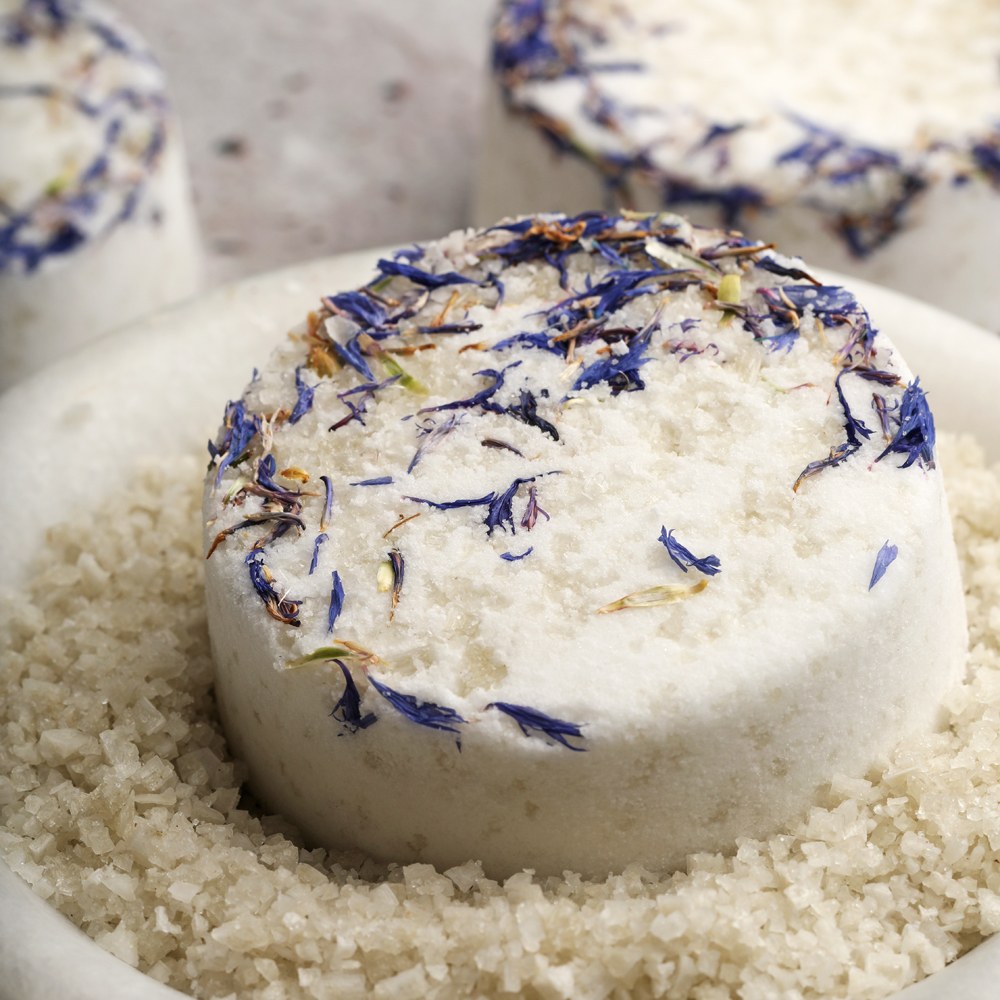
Bath bombs are a quick and easy way to relax during the day. Even more so if they’re handmade! These bath bombs have skin-loving additives like French gray sea salt and seaweed extract. Sea Salt and Lily Fragrance Oil adds fresh notes and cornflower petals add a pop of color on top.
The Disk Mold and Package is great for beginners and makes gifting easy. We recommend allowing the bath bombs to fully harden and dry overnight. Store them in a dry and cool place.
Looking for additional handmade bath bomb supplies? Check out Bramble Berry's DIY bath bomb kits.
What You Need:

Disk Mold and Package, Plastic - 10 molds

Sodium Bicarbonate - 1 lb

Citric Acid - 1 lb

French Gray Sea Salt - Coarse - 1 lb

Blue Cornflower Petals - 3 oz

Sea Salt and Lily Fragrance Oil - 1.75 oz

Seaweed Extract - 1 oz

Polysorbate 80 - 1 oz
Recipe
INGREDIENTS:
- Sodium Bicarbonate - 1 lb
- Citric Acid - 1 lb
- French Gray Sea Salt - Coarse - 1 lb
- Blue Cornflower Petals - 3 oz
- Sea Salt and Lily Fragrance Oil - 1.75 oz
- Seaweed Extract - 1 oz
- Polysorbate 80 - 1 oz
EQUIPMENT:
- Disk Mold and Package, Plastic - 10 molds
Instructions

You will need:
- About 7 Disk Bath Bomb Molds
- 16 oz. Baking Soda (Sodium Bicarbonate)
- 8 oz. Citric Acid
- 4 oz. French Gray Sea Salt - Coarse
- 1 oz. Seaweed Extract
- 0.6 oz. Sea Salt and Lily Fragrance Oil
- 0.1 oz. Polysorbate 80
- Witch Hazel in a Spray Bottle
Follow these steps:
1
In a large bowl, mix together 16 ounces of baking soda and 8 ounces of citric acid. To get rid of clumps, push the powders through a sifter or break them up with your fingers. Note: Citric acid has a tendency to take off nail polish, so wear gloves to protect your manicure.
2
Add 4 ounces of coarse French gray sea salt. Add 1 ounce of seaweed extract, 0.6 ounces of Sea Salt and Lily Fragrance Oil, and 0.1 ounces of polysorbate 80. Use your hands to thoroughly mix.
3
Place a small pinch of cornflowers and coarse French gray sea salt in the bottom of each Disk Mold.
4
Test the consistency of the bath bomb mixture. It should feel like wet sand and hold its shape when squeezed. If it’s too dry, use one hand to spritz the mixture with witch hazel and one to mix.
5
Press the bath bomb mixture firmly into the molds. Only fill to the bottom lip or the lids won’t fit.
6
Allow the bath bombs to dry for several hours or up to overnight. Remove from the molds and enjoy!
Tutorial credits
Photographer: Amanda Kerzman
French Salt Bath Bomb Project
- LEVEL Beginner
- TIME 30 minutes
- YIELD About 7 bath bombs
Project Description
Bath bombs are a quick and easy way to relax during the day. Even more so if they’re handmade! These bath bombs have skin-loving additives like French gray sea salt and seaweed extract. Sea Salt and Lily Fragrance Oil adds fresh notes and cornflower petals add a pop of color on top.
The Disk Mold and Package is great for beginners and makes gifting easy. We recommend allowing the bath bombs to fully harden and dry overnight. Store them in a dry and cool place.
Looking for additional handmade bath bomb supplies? Check out Bramble Berry's DIY bath bomb kits.
You will need:
- About 7 Disk Bath Bomb Molds
- 16 oz. Baking Soda (Sodium Bicarbonate)
- 8 oz. Citric Acid
- 4 oz. French Gray Sea Salt - Coarse
- 1 oz. Seaweed Extract
- 0.6 oz. Sea Salt and Lily Fragrance Oil
- 0.1 oz. Polysorbate 80
- Witch Hazel in a Spray Bottle
Follow these steps:
1
In a large bowl, mix together 16 ounces of baking soda and 8 ounces of citric acid. To get rid of clumps, push the powders through a sifter or break them up with your fingers. Note: Citric acid has a tendency to take off nail polish, so wear gloves to protect your manicure.
2
Add 4 ounces of coarse French gray sea salt. Add 1 ounce of seaweed extract, 0.6 ounces of Sea Salt and Lily Fragrance Oil, and 0.1 ounces of polysorbate 80. Use your hands to thoroughly mix.
3
Place a small pinch of cornflowers and coarse French gray sea salt in the bottom of each Disk Mold.
4
Test the consistency of the bath bomb mixture. It should feel like wet sand and hold its shape when squeezed. If it’s too dry, use one hand to spritz the mixture with witch hazel and one to mix.
5
Press the bath bomb mixture firmly into the molds. Only fill to the bottom lip or the lids won’t fit.
6
Allow the bath bombs to dry for several hours or up to overnight. Remove from the molds and enjoy!
Tutorial credits
Photographer: Amanda Kerzman