Whisky Beard Balm Project
Facial hair requires its own particular care and maintenance. Without extra moisture, the skin underneath can become itchy, flaky, and dry. Beard oil and balms help promote healthy facial skin, as well as keeping beards soft and full.
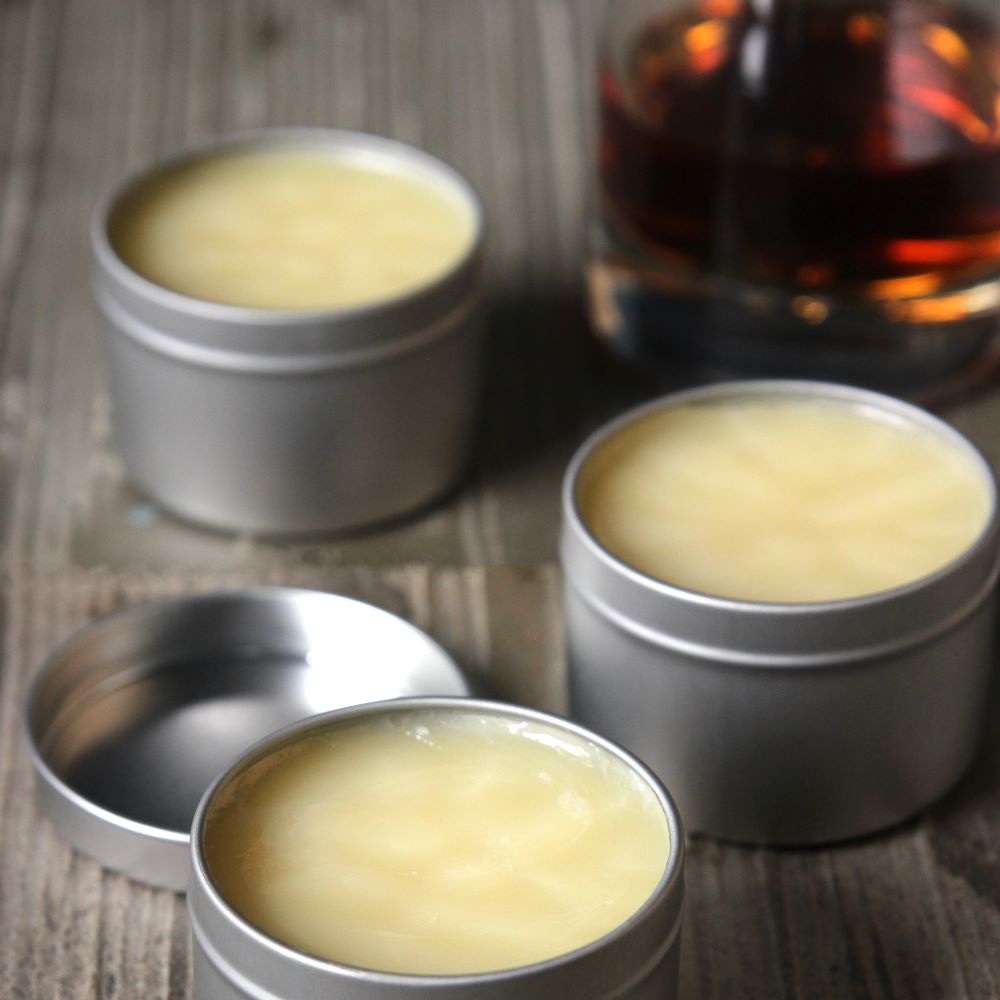
This Whisky Beard Balm is incredibly easy to make. The majority of the balm is comprised of our Beard Oil Base, which contains luxurious hair-loving oils like jojoba, argan, and fractionated coconut. A dash of yellow beeswax is added to turn the liquid into a solid balm that also gives the beard a bit of structure. It’s a firmer beard balm compared to some - if you prefer a softer product, reduce the beeswax.
The balm is scented with Scotch Whisky Fragrance Oil, which has notes of vanilla, cedarwood, and musk. It’s a complex unisex fragrance oil that you won’t want to stop smelling.
Need more homemade hair care making supplies? Check out these hair care making kits.
What You Need:


Recipe
INGREDIENTS:
- Yellow Beeswax - 1 lb
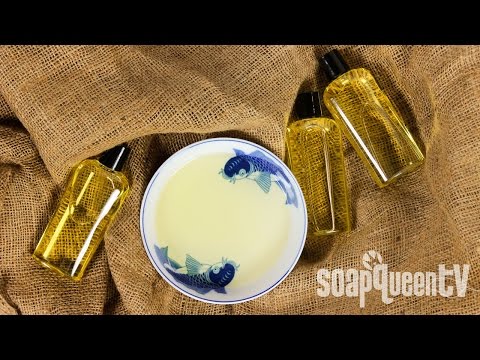
- Beard Oil Base - 16 oz
- Scotch Whisky Fragrance Oil - 2 oz
EQUIPMENT:
- Silver Candle Tins - 6 tins
Instructions

You will need:
- 5 Candle Tins
- 3.5 oz. Yellow Beeswax
- 16 oz. Beard Oil Base
- 0.3 oz. Scotch Whisky Fragrance Oil
Follow these steps:
1
In a medium heat-safe container, combine 3.5 ounces of yellow beeswax and 16 ounces of Beard Oil Base. Place in the microwave and heat using 60 second bursts until the beeswax is completely melted. Be careful removing the container, as it will be quite hot.
2
Add 0.3 ounces of Scotch Whisky Fragrance Oil and stir to fully combine.
3
Carefully pour the mixture into the candle tins until completely full. In our tests, this recipe makes 5 candle tins if filled to the very top. Allow the mixture to fully cool and harden for several hours. Enjoy!
Tutorial credits
Photographer: Amanda Kerzman
Whisky Beard Balm Project
- LEVEL Beginner
- TIME 30 minutes
- YIELD 5 candle tins
Project Description
Facial hair requires its own particular care and maintenance. Without extra moisture, the skin underneath can become itchy, flaky, and dry. Beard oil and balms help promote healthy facial skin, as well as keeping beards soft and full.
This Whisky Beard Balm is incredibly easy to make. The majority of the balm is comprised of our Beard Oil Base, which contains luxurious hair-loving oils like jojoba, argan, and fractionated coconut. A dash of yellow beeswax is added to turn the liquid into a solid balm that also gives the beard a bit of structure. It’s a firmer beard balm compared to some - if you prefer a softer product, reduce the beeswax.
The balm is scented with Scotch Whisky Fragrance Oil, which has notes of vanilla, cedarwood, and musk. It’s a complex unisex fragrance oil that you won’t want to stop smelling.
Need more homemade hair care making supplies? Check out these hair care making kits.
You will need:
- 5 Candle Tins
- 3.5 oz. Yellow Beeswax
- 16 oz. Beard Oil Base
- 0.3 oz. Scotch Whisky Fragrance Oil
Follow these steps:
1
In a medium heat-safe container, combine 3.5 ounces of yellow beeswax and 16 ounces of Beard Oil Base. Place in the microwave and heat using 60 second bursts until the beeswax is completely melted. Be careful removing the container, as it will be quite hot.
2
Add 0.3 ounces of Scotch Whisky Fragrance Oil and stir to fully combine.
3
Carefully pour the mixture into the candle tins until completely full. In our tests, this recipe makes 5 candle tins if filled to the very top. Allow the mixture to fully cool and harden for several hours. Enjoy!
Tutorial credits
Photographer: Amanda Kerzman