Succulent Bath Bomb Project
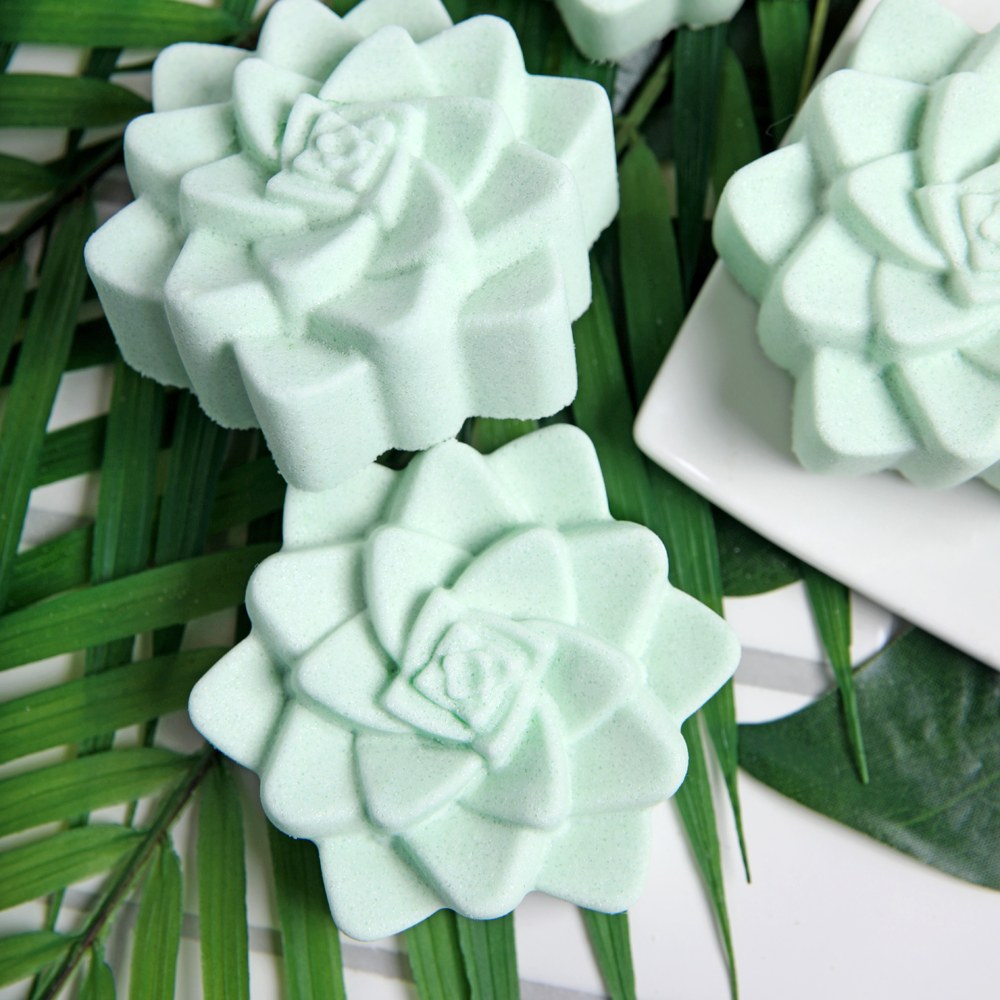
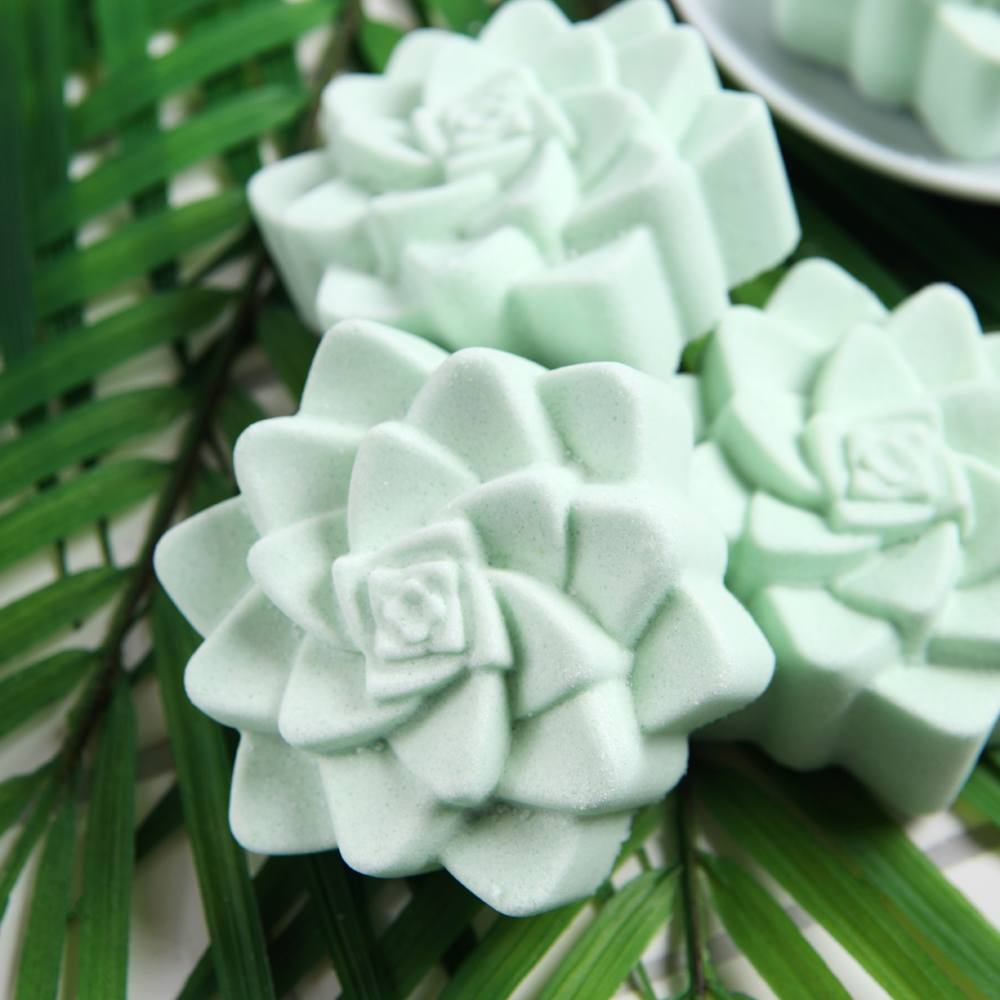
These Succulent Bath Bombs are perfect for beginners. The 4 Cavity Succulent Silicone Mold creates an adorable shape and Lush Succulent Fragrance Oil gives them a fresh scent.
A touch of agave extract moisturizes the skin and helps the bath bombs hold their shape. If you don't have agave extract on hand, any oil-based extract or lightweight liquid oil will work.
Looking for more bath bomb making supplies? Try these DIY bath bomb kits.
What You Need:
Recipe
INGREDIENTS:
- Lush Succulent Fragrance Oil - 1.75 oz
- Agave Extract - 1 oz
- Sodium Bicarbonate - 1 lb
- Citric Acid - 1 lb
- Witch Hazel - 1 lb
- Shamrock Green Mica - 1 oz
EQUIPMENT:
- Droppers With Suction Bulb - 1 dropper
- 4 Cavity Succulent Silicone Mold
- 8 oz Clear Bottle with White Spray Cap - 10
Instructions
You will need:
- Succulent Silicone Mold
- 12 oz. Sodium Bicarbonate (Baking Soda)
- 6 oz. Citric Acid
- 0.2 oz. Agave Extract
- 0.2 oz. Lush Succulent Fragrance Oil
- Shamrock Green Mica
- Witch Hazel in a Spray Bottle
Follow these steps:
1
In a large bowl, add 12 ounces of baking soda and 6 ounces of citric acid. To get rid of clumps in the mixture, you can push the powders through a sifter or break them up with your fingers. Citric acid has a tendency to take off nail polish, so wear gloves to protect your manicure. Thoroughly stir the ingredients together.
2
Add 0.2 ounces of agave extract, 0.2 ounces of Lush Succulent Fragrance Oil, and about 1/8 teaspoon of Kelly Green Mica. Use your hands to thoroughly incorporate all the liquid ingredients. Add more color if you like.
3
Check the consistency of the bath bomb mixture. It should feel like wet sand and hold its shape when squeezed. If it’s too dry, use one hand to spritz the mixture with witch hazel and one to mix. Continue spritzing until the mixture holds its shape.
4
Begin filling each mold with the bath bomb mixture. Firmly press it into each cavity as much as possible. Allow the bath bombs to dry for at least 4 hours or up to overnight.
5
Once the bath bombs are completely dry, gently push them out from the silicone mold. To use, place them into a hot bath tub. Enjoy!
Tutorial credits
Photographer: Amanda Kerzman

Succulent Bath Bomb Project
- LEVEL
- TIME 30 minutes
- YIELD null
Project Description
These Succulent Bath Bombs are perfect for beginners. The 4 Cavity Succulent Silicone Mold creates an adorable shape and Lush Succulent Fragrance Oil gives them a fresh scent.
A touch of agave extract moisturizes the skin and helps the bath bombs hold their shape. If you don't have agave extract on hand, any oil-based extract or lightweight liquid oil will work.
Looking for more bath bomb making supplies? Try these DIY bath bomb kits.
You will need:
- Succulent Silicone Mold
- 12 oz. Sodium Bicarbonate (Baking Soda)
- 6 oz. Citric Acid
- 0.2 oz. Agave Extract
- 0.2 oz. Lush Succulent Fragrance Oil
- Shamrock Green Mica
- Witch Hazel in a Spray Bottle
Follow these steps:
1
In a large bowl, add 12 ounces of baking soda and 6 ounces of citric acid. To get rid of clumps in the mixture, you can push the powders through a sifter or break them up with your fingers. Citric acid has a tendency to take off nail polish, so wear gloves to protect your manicure. Thoroughly stir the ingredients together.
2
Add 0.2 ounces of agave extract, 0.2 ounces of Lush Succulent Fragrance Oil, and about 1/8 teaspoon of Kelly Green Mica. Use your hands to thoroughly incorporate all the liquid ingredients. Add more color if you like.
3
Check the consistency of the bath bomb mixture. It should feel like wet sand and hold its shape when squeezed. If it’s too dry, use one hand to spritz the mixture with witch hazel and one to mix. Continue spritzing until the mixture holds its shape.
4
Begin filling each mold with the bath bomb mixture. Firmly press it into each cavity as much as possible. Allow the bath bombs to dry for at least 4 hours or up to overnight.
5
Once the bath bombs are completely dry, gently push them out from the silicone mold. To use, place them into a hot bath tub. Enjoy!
Tutorial credits
Photographer: Amanda Kerzman


