Willow and Ivy Candle Project
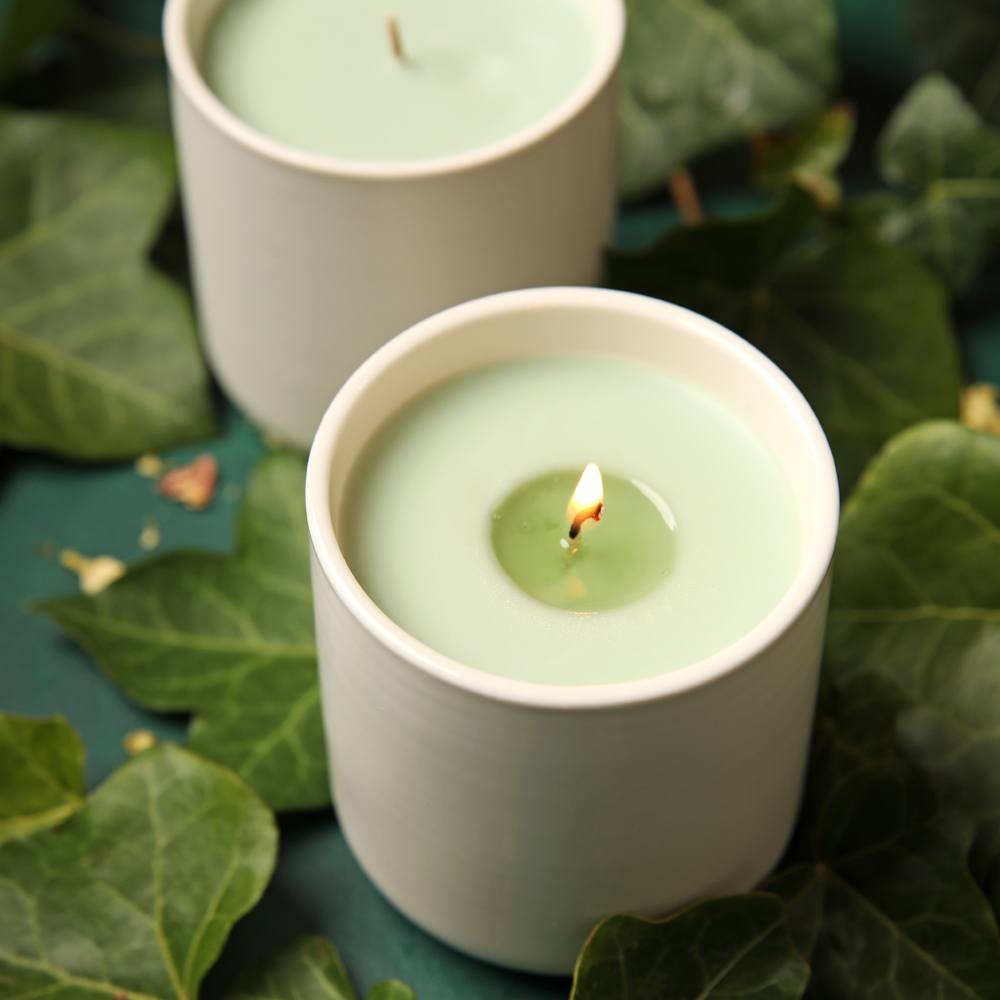
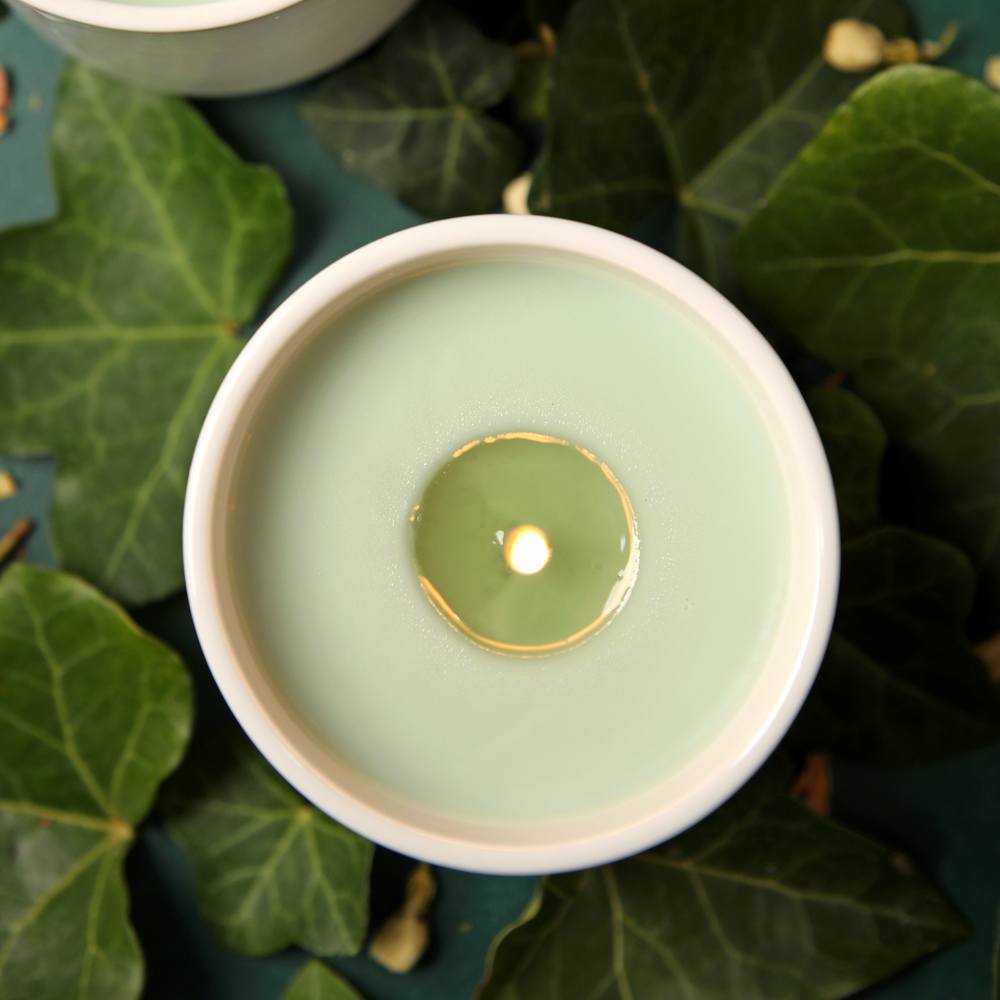
You can easily customize candles with dye flakes. A little goes a long way - just add a pinch to melted wax and stir. We chose Sage Green for these Willow and Ivy Candles. They're also made with Willow and Ivy Fragrance Oil, which has fresh notes of ivy, musk, and violet. They're perfect for spring.
If you're new to this, check out How to Make Soy Wax Candles by London of Particle Goods. She shares her expert tips, including how to prevent frosting. That way your candles turn out perfectly each time!
Looking for more candle making supplies? Check out Bramble Berry's DIY candle making recipes.
What You Need:
Recipe
INGREDIENTS:
- Willow and Ivy Fragrance Oil - 3.5 oz
- Golden Wax 464 - 2 lbs
- Sage Green Candle Dye Flakes - 1 oz
- HTP 93 Wick - 10 wick
- Wick Stickers - 10 Sheets (100 Stickers)
EQUIPMENT:
- White Ceramic Jar - Small - 4 Jars
Instructions
You will need:
- 4 Small White Ceramic Jars
- 32 oz. Golden Wax 464
- 4 HTP 93 Wicks
- 2.6 oz. Willow and Ivy Fragrance Oil
- Sage Green Candle Dye Flakes
- NOTE: Using 32 ounces of Golden Wax 464 fills each container to the top, with a small amount of room. But the lid will not fit comfortably with the wick. Reduce the wax to 28 ounces if you'd like the lid to fully close without interferring with the wick.
Follow these steps:
1
Place a half-filled pot of water on the stove, bring it to a low simmer, and nest a pouring pitcher or other heat-safe container inside. Add 32 ounces of Golden Wax 464 and let it melt.
2
Add 2-4 generous pinches of Sage Green Candle Dye Flakes and stir well. Tip: The melted wax lightens as it cools. Drip a small amount onto a white surface like parchment paper to test the color.
3
Weigh out 2.6 ounces of Willow and Ivy Fragrance Oil into a glass container. Once the wax reaches 185° F, remove it from the heat and slowly stir in the fragrance for 1-2 minutes to fully incorporate. Set aside until it cools to 150° F.
4
Place wick stickers or glue dots on the ends of the HTP 93 wicks and adhere firmly to the center bottom of the 4 ceramic jars.
5
Once the wax is at 150° F, pour it slowly into the prepped jars. Secure the wicks with a clothespin (or other tool).
6
Wait 12-24 hours to allow the candles to fully cool. Trim the wick to 1/4" above the wax. Allow the candles to cure for 3-5 days so the fragrance completely bonds with the wax. Burn your candle until it reaches a full melt pool for best results.
Tutorial credits
Photographer: Amanda Kerzman

Willow and Ivy Candle Project
- LEVEL Beginner
- TIME 2 hours
- YIELD 4 candles
Project Description
You can easily customize candles with dye flakes. A little goes a long way - just add a pinch to melted wax and stir. We chose Sage Green for these Willow and Ivy Candles. They're also made with Willow and Ivy Fragrance Oil, which has fresh notes of ivy, musk, and violet. They're perfect for spring.
If you're new to this, check out How to Make Soy Wax Candles by London of Particle Goods. She shares her expert tips, including how to prevent frosting. That way your candles turn out perfectly each time!
Looking for more candle making supplies? Check out Bramble Berry's DIY candle making recipes.
You will need:
- 4 Small White Ceramic Jars
- 32 oz. Golden Wax 464
- 4 HTP 93 Wicks
- 2.6 oz. Willow and Ivy Fragrance Oil
- Sage Green Candle Dye Flakes
- NOTE: Using 32 ounces of Golden Wax 464 fills each container to the top, with a small amount of room. But the lid will not fit comfortably with the wick. Reduce the wax to 28 ounces if you'd like the lid to fully close without interferring with the wick.
Follow these steps:
1
Place a half-filled pot of water on the stove, bring it to a low simmer, and nest a pouring pitcher or other heat-safe container inside. Add 32 ounces of Golden Wax 464 and let it melt.
2
Add 2-4 generous pinches of Sage Green Candle Dye Flakes and stir well. Tip: The melted wax lightens as it cools. Drip a small amount onto a white surface like parchment paper to test the color.
3
Weigh out 2.6 ounces of Willow and Ivy Fragrance Oil into a glass container. Once the wax reaches 185° F, remove it from the heat and slowly stir in the fragrance for 1-2 minutes to fully incorporate. Set aside until it cools to 150° F.
4
Place wick stickers or glue dots on the ends of the HTP 93 wicks and adhere firmly to the center bottom of the 4 ceramic jars.
5
Once the wax is at 150° F, pour it slowly into the prepped jars. Secure the wicks with a clothespin (or other tool).
6
Wait 12-24 hours to allow the candles to fully cool. Trim the wick to 1/4" above the wax. Allow the candles to cure for 3-5 days so the fragrance completely bonds with the wax. Burn your candle until it reaches a full melt pool for best results.
Tutorial credits
Photographer: Amanda Kerzman


