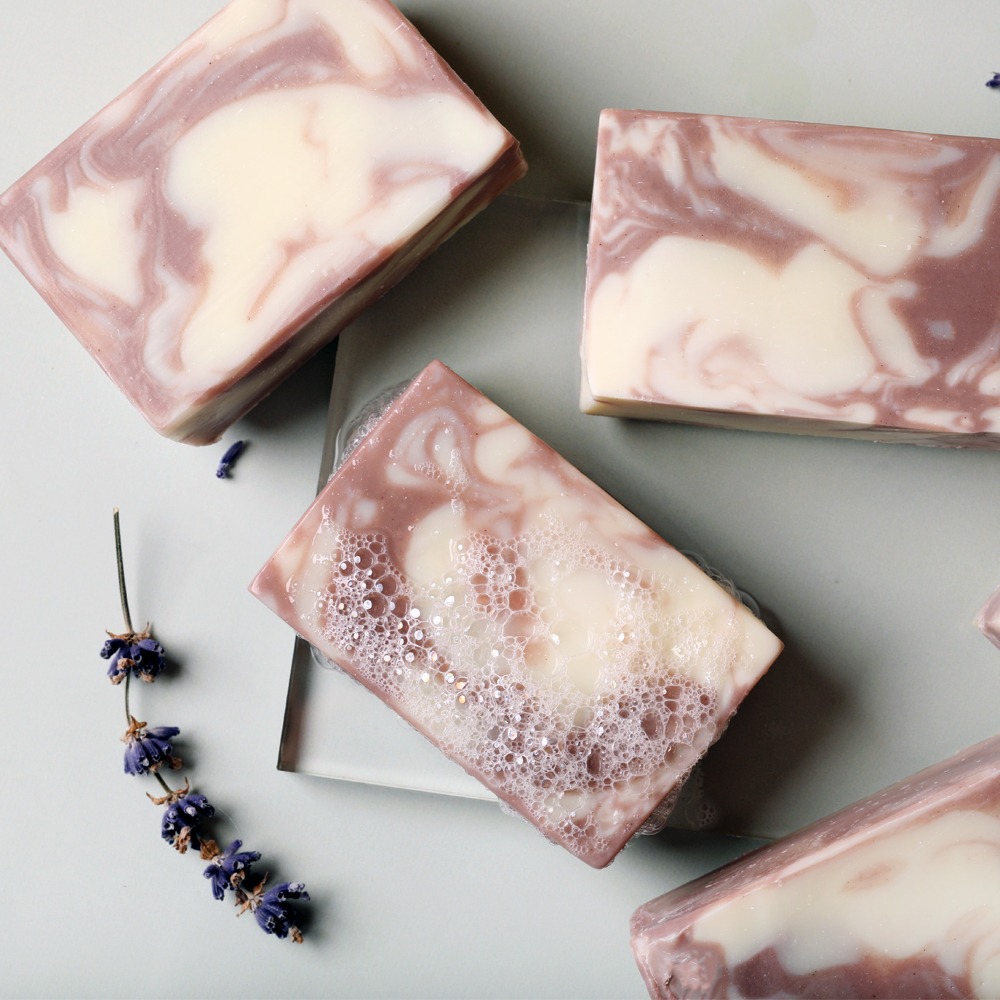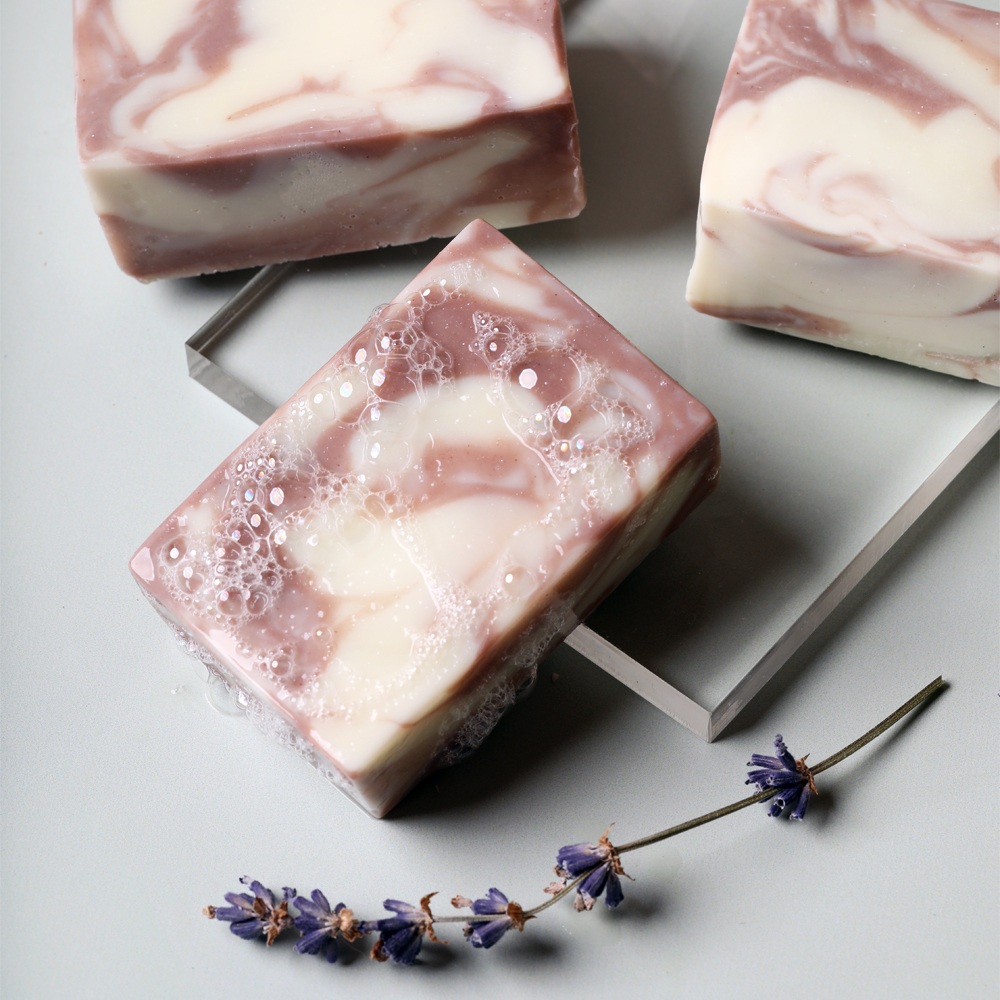
Lavender Facial Soap Project
This facial soap is made with lavender essential water and lavender essential oil. A touch of Rose Clay gives it a soft hue.
The Shea Quick Mix is a palm-free mixture of oils formulated for the face. Because it's a softer recipe, we recommend using sodium lactate. We also used a 15% water discount to help the soap unmold easier.
Rather than distilled water, this recipe uses lavender essential water. It will be cloudier than usual - this is normal.
Need more skincare making supplies? See our DIY skincare kits.
What You Need:
Recipe
INGREDIENTS:
- Sodium Hydroxide Lye
- Sodium Lactate - 4 oz
- Lavender Essential Water - 16 oz
- Rose Clay - 1 oz
- Titanium Dioxide Pigment - 1 oz
- Shea Facial Soap Quick Mix - 54 oz
- Lavender 40/42 Essential Oil - 1.75 oz
EQUIPMENT:
- 12 Bar Rectangle Silicone Mold - 1 Mold
Instructions
You will need:
- 12 Bar Square Silicone Mold
- 40 oz. Shea Facial Soap Quick Mix
- 5.7 oz. Sodium Hydroxide Lye
- 10.8 oz. Lavender Essential Water
- 2.5 tsp. Sodium Lactate
- 1 oz. Lavender 40/42 Essential Oil
- Rose Clay
- Titanium Dioxide
FRAGRANCE PREP: Measure 1 ounce of lavender 40/42 essential oil into a small glass container and set aside.
COLORANT PREP: Disperse 1 tablespoon of rose clay into 1 tablespoon of distilled water to create a thick mixture. Disperse 1 teaspoon of titanium dioxide into 1 tablespoon of lightweight liquid oil. Use a mini mixer to get rid of any clumps. Set colorants aside.
*Note: This project was originally created with the now discontinued Purple Brazilian Clay. Rose clay will yield a similar shade to the photos with a slightly more pink tone.
SAFETY FIRST: Suit up for safe handling practices. That means goggles, gloves, and long sleeves. Make sure kids, pets, other distractions, and tripping hazards are out of the house or don’t have access to your space. Always make soap in a well-ventilated area.
Follow these steps:
1
Slowly and carefully add 5.7 ounces of lye to 10.8 ounces of lavender essential water and gently stir until the lye has fully dissolved - you'll notice more cloudiness than usual, this is normal. Set aside to cool, and then add 2.5 teaspoons of sodium lactate to the lye water.
2
Melt the entire bag of Shea Facial Soap Quick Mix until there is no cloudiness. Shake to mix the oils and measure 40 ounces into a heat-safe container. Once the lye water and the oils have cooled to 130° F or below (and are ideally within 10 degrees of each other), add the lye water to the oils and stick blend the mixture to a very thin trace.
3
Whisk in 1 ounce of lavender 40/42 essential oil.
4
Split the mixture in half - it's okay to eyeball it. To one half, add all of the dispersed rose clay. To the other half, add all of the dispersed titanium dioxide. Use the stick blender to mix in the colors (from lightest to darkest) until you reach a light-medium trace.
5
Pour the pink soap into the white soap in different areas and various heights. Use a spatulra to stir and swirl the soap 1-3 times. Be caeful to not overmix or the colors will muddle.
6
Pour the soap into each mold cavity. Spritz the top with 99% isopropyl alcohol to prevent soda ash. If you live in a cool climate, we recommend placing this soap on a heating pad to insulate and promote gel phase. Because this is a palm-free recipe, the extra heat will help the soap harden faster.
7
Allow the soap to stay in the mold for 1-3 days. Remove from the mold. We cut off the very top of each bar using the Wire Soap Slicer to reveal more of the swirl pattern inside. Allow the bars to cure for 4-6 weeks and enjoy!
Tutorial credits
Photographer: Amanda Kerzman

Lavender Facial Soap Project
- LEVEL Intermediate
- TIME 2 hours
- YIELD About 3.5 pounds of soap
Project Description
The Shea Quick Mix is a palm-free mixture of oils formulated for the face. Because it's a softer recipe, we recommend using sodium lactate. We also used a 15% water discount to help the soap unmold easier.
Rather than distilled water, this recipe uses lavender essential water. It will be cloudier than usual - this is normal.
Need more skincare making supplies? See our DIY skincare kits.
You will need:
- 12 Bar Square Silicone Mold
- 40 oz. Shea Facial Soap Quick Mix
- 5.7 oz. Sodium Hydroxide Lye
- 10.8 oz. Lavender Essential Water
- 2.5 tsp. Sodium Lactate
- 1 oz. Lavender 40/42 Essential Oil
- Rose Clay
- Titanium Dioxide
FRAGRANCE PREP: Measure 1 ounce of lavender 40/42 essential oil into a small glass container and set aside.
COLORANT PREP: Disperse 1 tablespoon of rose clay into 1 tablespoon of distilled water to create a thick mixture. Disperse 1 teaspoon of titanium dioxide into 1 tablespoon of lightweight liquid oil. Use a mini mixer to get rid of any clumps. Set colorants aside.
*Note: This project was originally created with the now discontinued Purple Brazilian Clay. Rose clay will yield a similar shade to the photos with a slightly more pink tone.
SAFETY FIRST: Suit up for safe handling practices. That means goggles, gloves, and long sleeves. Make sure kids, pets, other distractions, and tripping hazards are out of the house or don’t have access to your space. Always make soap in a well-ventilated area.
Follow these steps:
1
Slowly and carefully add 5.7 ounces of lye to 10.8 ounces of lavender essential water and gently stir until the lye has fully dissolved - you'll notice more cloudiness than usual, this is normal. Set aside to cool, and then add 2.5 teaspoons of sodium lactate to the lye water.
2
Melt the entire bag of Shea Facial Soap Quick Mix until there is no cloudiness. Shake to mix the oils and measure 40 ounces into a heat-safe container. Once the lye water and the oils have cooled to 130° F or below (and are ideally within 10 degrees of each other), add the lye water to the oils and stick blend the mixture to a very thin trace.
3
Whisk in 1 ounce of lavender 40/42 essential oil.
4
Split the mixture in half - it's okay to eyeball it. To one half, add all of the dispersed rose clay. To the other half, add all of the dispersed titanium dioxide. Use the stick blender to mix in the colors (from lightest to darkest) until you reach a light-medium trace.
5
Pour the pink soap into the white soap in different areas and various heights. Use a spatulra to stir and swirl the soap 1-3 times. Be caeful to not overmix or the colors will muddle.
6
Pour the soap into each mold cavity. Spritz the top with 99% isopropyl alcohol to prevent soda ash. If you live in a cool climate, we recommend placing this soap on a heating pad to insulate and promote gel phase. Because this is a palm-free recipe, the extra heat will help the soap harden faster.
7
Allow the soap to stay in the mold for 1-3 days. Remove from the mold. We cut off the very top of each bar using the Wire Soap Slicer to reveal more of the swirl pattern inside. Allow the bars to cure for 4-6 weeks and enjoy!
Tutorial credits
Photographer: Amanda Kerzman


