Bath Crayon Project
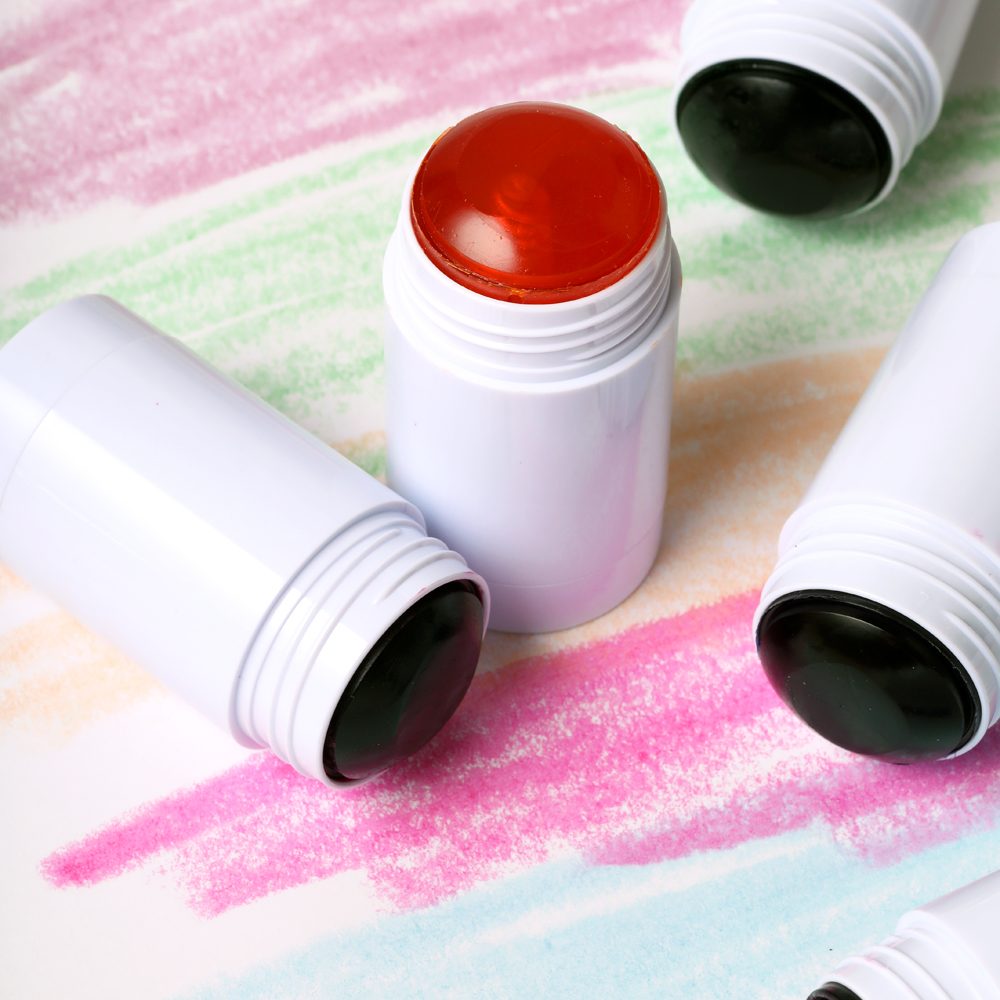
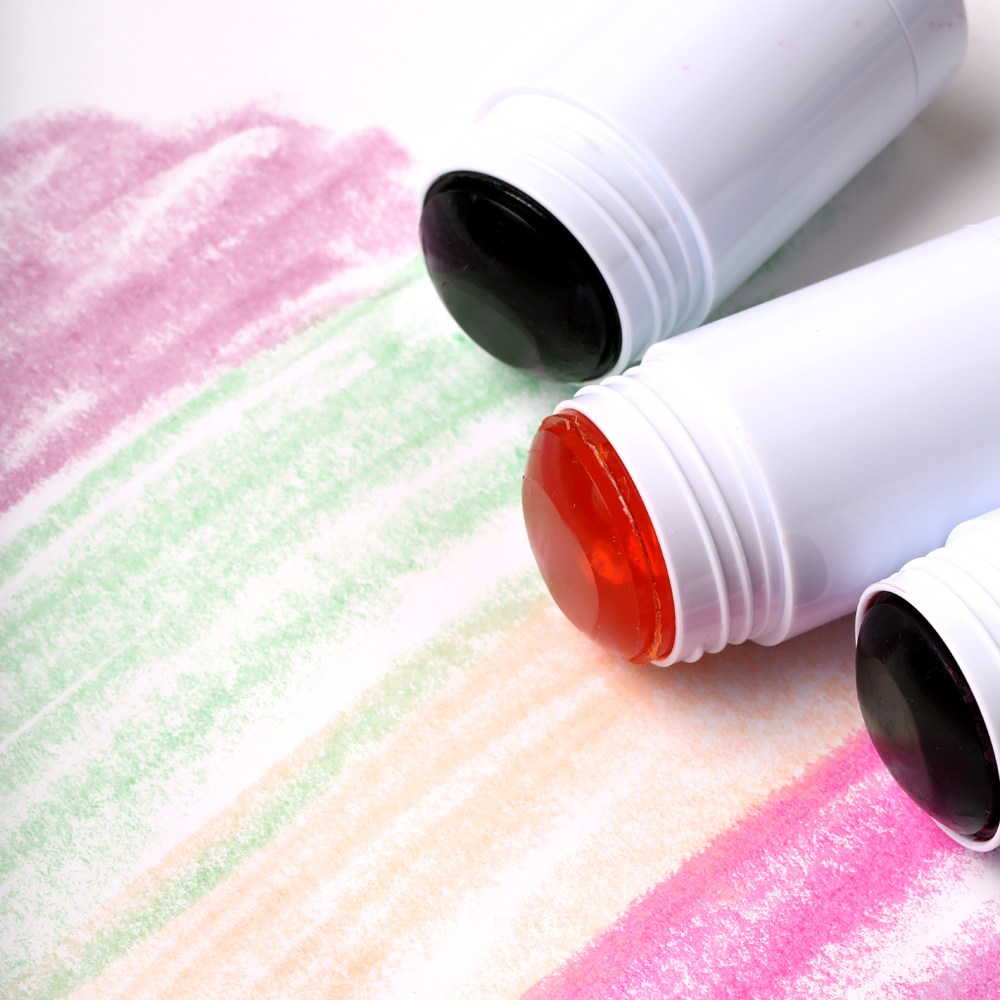
These Bath Crayons give kiddos another way to get creative. Made with melt and pour soap and Lab Colors, they're perfect for doodling on the tub and shower walls. They also work great on paper! We added a touch of Orange Peel Fragrance Oil for a sweet and fruity scent kids will love.
The instructions here create 3 crayons, but you can scale the recipe up or down depending on how many you'd like to make. Each tube uses undiluted Lab Colors to create an intense shade.
As a rule of thumb, each Twist Tube holds about 1.5 ounces. We found 3 mL of color per tube was enough to show up on the tub. Some colors do work a little better than others - we had the best luck with red, pink, green, and blue.
The color is easy to wash off the tube and other non-porous surfaces. To be on the safe side, test the soap crayons in a discreet area of your tub before unleashing your child’s creativity.
Want more candle making supplies? Check out these DIY candle making recipes.
What You Need:
Recipe
INGREDIENTS:
- SFIC Clear Melt And Pour Soap Base - 1 lb
- DISCONTINUED - Basic Lab Colors Set of 12 - Small
- Orange Peel Fragrance Oil - Trial Size
EQUIPMENT:
- Twist Tube - White, 10 Tubes
- Droppers With Suction Bulb - 10 droppers
Instructions
You will need:
- 3 White Twist Tubes
- 5 oz. Clear Melt and Pour Soap
- 2 mL Orange Peel Fragrance Oil
- 3 mL Undiluted Lab Color
- Dropper
Follow these steps:
1
Chop 5 ounces of Clear Melt and Pour Soap Base into small uniform pieces. Place the soap into a small heat-safe container and melt in the microwave using 10-15 second bursts.
2
Add 2 mL of Orange Peel Fragrance Oil and stir thoroughly.
3
Split the melted soap evenly into 3 containers - it's okay to eyeball it.
4
Add 3 mL of undiluted Lab Color to each container of soap and stir thoroughly. Carefully, pour the soap into the bottom of the Twist Tube until it reaches the top. Place cap on back firmly. Tip: Use a container that has a long spout for easier pouring.
5
Allow the crayons to fully cool and harden for several hours. To help release the plastic cap on top, place the crayons into the freezer for 5-10 minutes. Twist the bottom of the crayon to get it started (this can take a decent amount of twisting!) and remove the plastic cap. Enjoy!

Bath Crayon Project
- LEVEL Beginner
- TIME 1 hour
- YIELD null
Project Description
These Bath Crayons give kiddos another way to get creative. Made with melt and pour soap and Lab Colors, they're perfect for doodling on the tub and shower walls. They also work great on paper! We added a touch of Orange Peel Fragrance Oil for a sweet and fruity scent kids will love.
The instructions here create 3 crayons, but you can scale the recipe up or down depending on how many you'd like to make. Each tube uses undiluted Lab Colors to create an intense shade.
As a rule of thumb, each Twist Tube holds about 1.5 ounces. We found 3 mL of color per tube was enough to show up on the tub. Some colors do work a little better than others - we had the best luck with red, pink, green, and blue.
The color is easy to wash off the tube and other non-porous surfaces. To be on the safe side, test the soap crayons in a discreet area of your tub before unleashing your child’s creativity.
Want more candle making supplies? Check out these DIY candle making recipes.
You will need:
- 3 White Twist Tubes
- 5 oz. Clear Melt and Pour Soap
- 2 mL Orange Peel Fragrance Oil
- 3 mL Undiluted Lab Color
- Dropper
Follow these steps:
1
Chop 5 ounces of Clear Melt and Pour Soap Base into small uniform pieces. Place the soap into a small heat-safe container and melt in the microwave using 10-15 second bursts.
2
Add 2 mL of Orange Peel Fragrance Oil and stir thoroughly.
3
Split the melted soap evenly into 3 containers - it's okay to eyeball it.
4
Add 3 mL of undiluted Lab Color to each container of soap and stir thoroughly. Carefully, pour the soap into the bottom of the Twist Tube until it reaches the top. Place cap on back firmly. Tip: Use a container that has a long spout for easier pouring.
5
Allow the crayons to fully cool and harden for several hours. To help release the plastic cap on top, place the crayons into the freezer for 5-10 minutes. Twist the bottom of the crayon to get it started (this can take a decent amount of twisting!) and remove the plastic cap. Enjoy!


