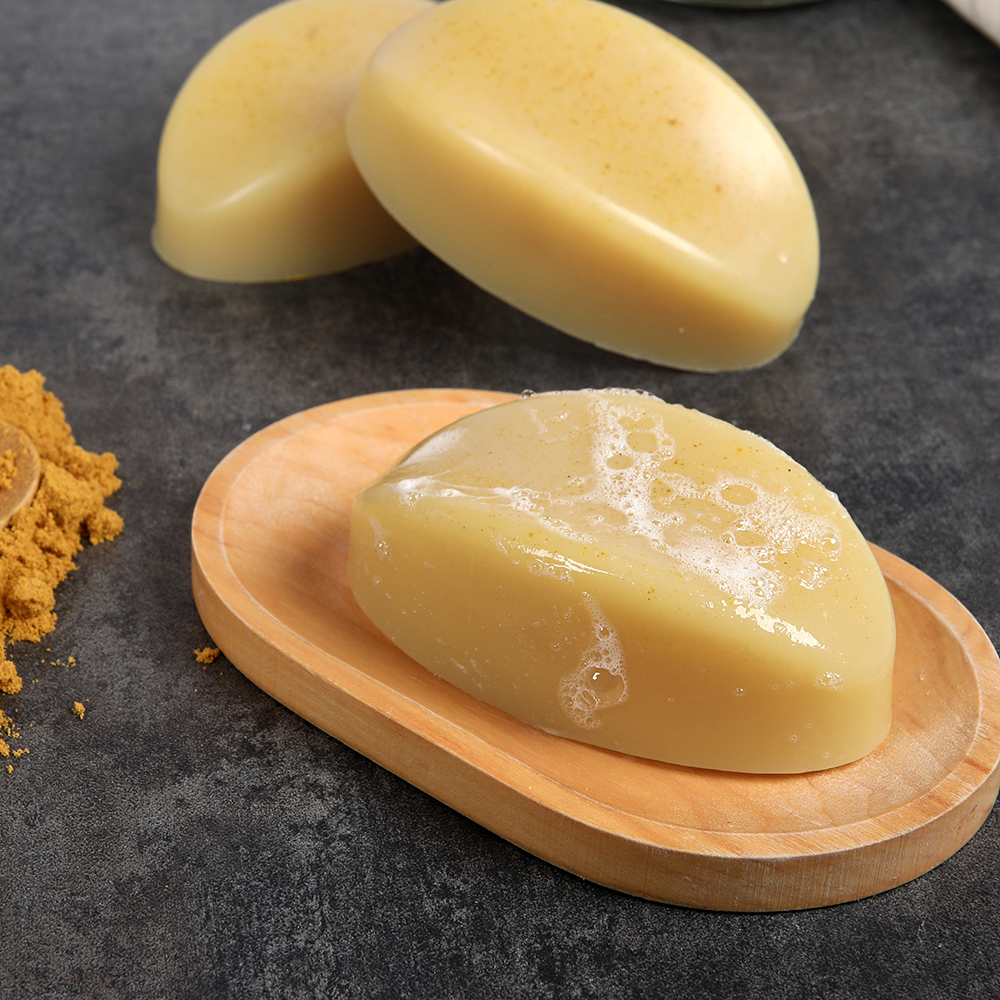
Bee Pollen Melt and Pour Soap Project
Bee pollen powder is created by safely collecting excess pollen from the legs of bees. The excess pollen creates granules, which are ground into a fine powder. It has a natural honey scent, similar to beeswax.
Bee pollen powder adds a light yellow color to white melt and pour and cold process soap, and a rich golden color to clear melt and pour bases. This recipe uses Honey Melt and Pour Soap Base and a touch of White Melt and Pour Soap Base to lighten the color.
We used a very light amount of Pure Honey Fragrance Oil in this recipe to allow the scent of the bee pollen powder to come through. If you prefer a stronger scent, feel free to use more according to the Fragrance Calculator.
What You Need:
Recipe
INGREDIENTS:
- SFIC Honey Melt And Pour Soap Base - 1 lb
- Pure Honey Fragrance Oil - 2 oz
- SFIC White Melt And Pour Soap Base - 1 lb
EQUIPMENT:
- 6 Bar Oval Silicone Mold - 1 Mold
- 99% Isopropyl Alcohol - 1 bottle (16 oz by volume)
- 8 oz Clear Bottle with White Spray Cap - 10
Instructions
You will need:
- 6 Bar Oval Silicone Mold
- 20 oz. Honey Melt and Pour Soap Base
- 4 oz. White Melt and Pour Soap Base
- 0.2 oz. Pure Honey Fragrance Oil
- 2 tsp. Bee Pollen Powder
- 99% Isopropyl Alcohol in a Spray Bottle
Follow these steps:
1
Chop 4 oz. of White Melt and Pour Soap Base and 20 oz. of Honey Melt and Pour Soap Base into small, uniform cubes. Place them into a heat-safe container and melt in the microwave using 20-30 second bursts.
2
Mix 2 tsp. of bee pollen powder with about 1 Tbsp. of 99% isopropyl alcohol. That way the bee pollen mixes into the soap easily and without clumps.
3
Add the bee pollen mixture to the melted soap and use a spoon to thoroughly mix together.
4
Add 0.2 oz. of Pure Honey Fragrance Oil to the soap and stir to mix in thoroughly.
5
Pour the melted soap into each cavity of the mold. After each pour, spritz with 99% isopropyl alcohol to get rid of bubbles. Allow the soap to fully cool and harden for several hours. Remove from the mold and wrap in plastic wrap to prevent glycerin dew. Enjoy. Note: This project was originally made with the 6 Cavity Silicone Organic Mold. The 6 Bar Oval Silicone Mold creates a similar shape but will look different from the photos.
Tutorial credits
Photographer: Amanda Kerzman

Bee Pollen Melt and Pour Soap Project
- LEVEL Beginner
- TIME 30 minutes
- YIELD 6 bars of soap
Project Description
Bee pollen powder is created by safely collecting excess pollen from the legs of bees. The excess pollen creates granules, which are ground into a fine powder. It has a natural honey scent, similar to beeswax.
Bee pollen powder adds a light yellow color to white melt and pour and cold process soap, and a rich golden color to clear melt and pour bases. This recipe uses Honey Melt and Pour Soap Base and a touch of White Melt and Pour Soap Base to lighten the color.
We used a very light amount of Pure Honey Fragrance Oil in this recipe to allow the scent of the bee pollen powder to come through. If you prefer a stronger scent, feel free to use more according to the Fragrance Calculator.
You will need:
- 6 Bar Oval Silicone Mold
- 20 oz. Honey Melt and Pour Soap Base
- 4 oz. White Melt and Pour Soap Base
- 0.2 oz. Pure Honey Fragrance Oil
- 2 tsp. Bee Pollen Powder
- 99% Isopropyl Alcohol in a Spray Bottle
Follow these steps:
1
Chop 4 oz. of White Melt and Pour Soap Base and 20 oz. of Honey Melt and Pour Soap Base into small, uniform cubes. Place them into a heat-safe container and melt in the microwave using 20-30 second bursts.
2
Mix 2 tsp. of bee pollen powder with about 1 Tbsp. of 99% isopropyl alcohol. That way the bee pollen mixes into the soap easily and without clumps.
3
Add the bee pollen mixture to the melted soap and use a spoon to thoroughly mix together.
4
Add 0.2 oz. of Pure Honey Fragrance Oil to the soap and stir to mix in thoroughly.
5
Pour the melted soap into each cavity of the mold. After each pour, spritz with 99% isopropyl alcohol to get rid of bubbles. Allow the soap to fully cool and harden for several hours. Remove from the mold and wrap in plastic wrap to prevent glycerin dew. Enjoy. Note: This project was originally made with the 6 Cavity Silicone Organic Mold. The 6 Bar Oval Silicone Mold creates a similar shape but will look different from the photos.
Tutorial credits
Photographer: Amanda Kerzman


